Using Linked Audiences with Braze
Engage Foundations requires a Business tier account and includes Unify.
See the available plans, or contact Support.
Linked Audiences allows you dynamically personalize email messages in Braze using the predefined traits of any Linked Audience profile and the attributes of any entities used to match the profile into the audience.
The following topic is intended for a Technical Marketer and Data Engineer to complete together while setting up their Linked Audience.
Supported Braze Engagement Tools
The following engagement tools are available for use with Linked Audiences in Segment:
| Type | Description |
|---|---|
| Action-based Campaigns | Trigger and dynamically personalize campaigns with rich entity context. |
Segment Destination Actions
Segment sends data from your Linked Audiences to actions-based destinations. For example, you could send account information for the audience profiles with past due accounts to an email platform.
You can configure multiple triggers per audience (For example: one for account entry, and one for account exit).
| Segment Destination Action | How does it work? | How does Braze store the data? | Braze API Endpoint |
|---|---|---|---|
| Track Event | Segment sends personalization payload information into Braze as Braze Profile custom events. The entity personalization payload is contained in the events parameter within API calls. Segment appends Profile Traits as objects (or event properties) and Entity Context as nested objects. |
Event objects or Nested objects in custom events | track API endpoint |
| Update User Profile | Segment sends personalization payload information into Braze as Braze profile custom attributes. The entity personalization payload is contained in the attributes parameter in API calls. |
User attributes object or Nested Custom Attributes | track API endpoint |
Braze Action-based Delivery Campaign
Braze’s Action-Based Delivery campaigns store the entity personalization payload as nested objects in custom events.
Prerequisites
Complete the following setup steps before you configure an action based delivery campaign in Braze.
In Segment, ensure you have:
- Set up your Linked Audience.
- A copy of your Linked Audience Event Personalization Payload, event name, and Braze user id.
- Set up Braze as an actions destination.
- Set up a Track Event destination action and the relevant trigger using the Linked Audiences workflow.
In Braze, ensure you have:
- Permissions to access the application, or access to someone with permissions.
- Created all Segment profiles as Braze profiles using the Update User Profile destination action through Connections or Reverse ETL. This is a requirement for the profiles to receive an action-based campaign.
- Created a Braze profile that has an email address you can access. You’ll use this profile for campaign testing in a later step.
- Familiarity with the Liquid templating syntax.
Step 1: Set up a Braze action-based Delivery Campaign
To use Linked Audiences you must set up an action-based delivery campaign in Braze.
In Braze, do the following:
- Create a new email Campaign.
- Create an email using the HTML Editor and personalize it using Liquid tags.
- Reference your personalization payload schema from Segment to determine what properties to include in your message.
- Translate the Segment event properties in the payload schema into Liquid syntax for custom events, and enter it in the Braze HTML editor. See the following personalization examples for more details on how you can personalize your campaign.
- Next, schedule your campaign delivery:
- Select Action-based delivery > New Trigger Action: Perform Custom Event > Add Trigger.
- Search for and select the name of the Segment custom event you previously set up and tested in Segment.
- Select Delivery Controls > Allow users to become re-eligible to receive campaigns checkbox, and select 0 minutes. This is necessary for Step 2: Test your campaign flow so that you don’t have to wait for a user to become re-eligible while testing. You can adjust these settings after you have finished testing.
- Select your target Audience:
- Add a filter to target users without a segment.
- Search for and select the name of the Segment custom event you previously set up and tested in Segment.
- Select More than 0 times as the timeframe for this filter.
- Update any additional settings that apply to your campaign, then review and deploy your campaign and continue to Step 2: Test your campaign flow.
Step 2: Test your campaign flow
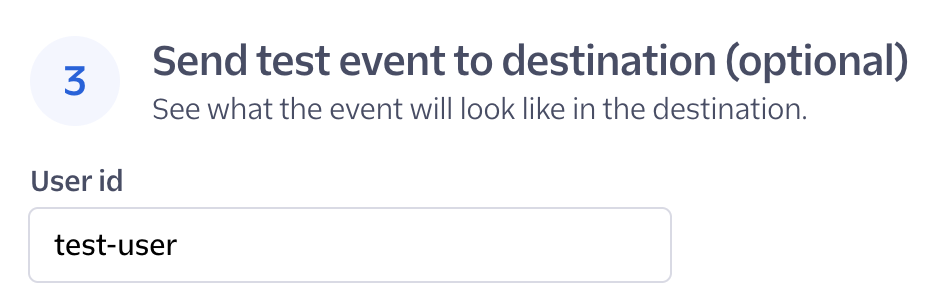
Open the Segment app and send yourself a test email for review. Add your Braze user id and click Send test event to destination. Review the email you received, and ensure it is formatted properly.
- If the event is sent successfully to Braze, you will see a
“message”: “success”response in Segment. - Open Braze and check your campaign dashboard (Braze > [Your Unique Campaign] > Analytics) to confirm that Braze sent the message. It can take up to 15 minutes for Braze to send the email.
- If your email doesn’t look the way you want it to, adjust the Liquid syntax in Braze and send another test event in Segment. See the following personalization examples for more specific details.
- When you’re finished testing your campaign, proceed to Enable your Linked Audience.
Liquid examples to use in Braze
Use the following examples as context and information to experiment with setting up your campaign in Braze.
The following is an example of what your payload data might look like with nested payload properties:
{
   "event": "abandoned_carts_linked_audience",
   "properties": {
      "first_name": "Andrew",
      "last_name": "Shopper",
      "shopping_cart__id": "123",
      "shopping_cart__products": [
         {
            "id": "324",
            "product_name": "Premium Tennis Shoes",
            "product_price": "$140",
            "__entity": "product"
         },
         {
             "id": "489",
             "product_name": "Premium Jacket",
             "product_price": "$200",
            "__entity": "product"
          }
       ],
       "__entity": "cart"
     }
 }
The following helps translate your payload data into Liquid syntax:
- To reference a specific event property:
- Use the following liquid syntax:
{{event_properties.event_property_name}} - An example of this property might look like:
{{event_properties.first_name}}
- Use the following liquid syntax:
- To reference nested event properties within an Array:
- Use the following liquid syntax:
{{event_property_name.[#_that_represents_specific_entry_in_array].nested_event_property_name }} - An example of this property might look like:
{{event_properties.shopping_cart__products[0].product_name}}
- Use the following liquid syntax:
Basic email example
Use the Segment payload data you copied when setting up your Linked audience to build an abandoned cart email campaign that includes specific information for the product in a customer’s shopping cart.
When an email is sent, it lists the specific product and its related price in your customer’s shopping cart. It might look like the following screenshot:
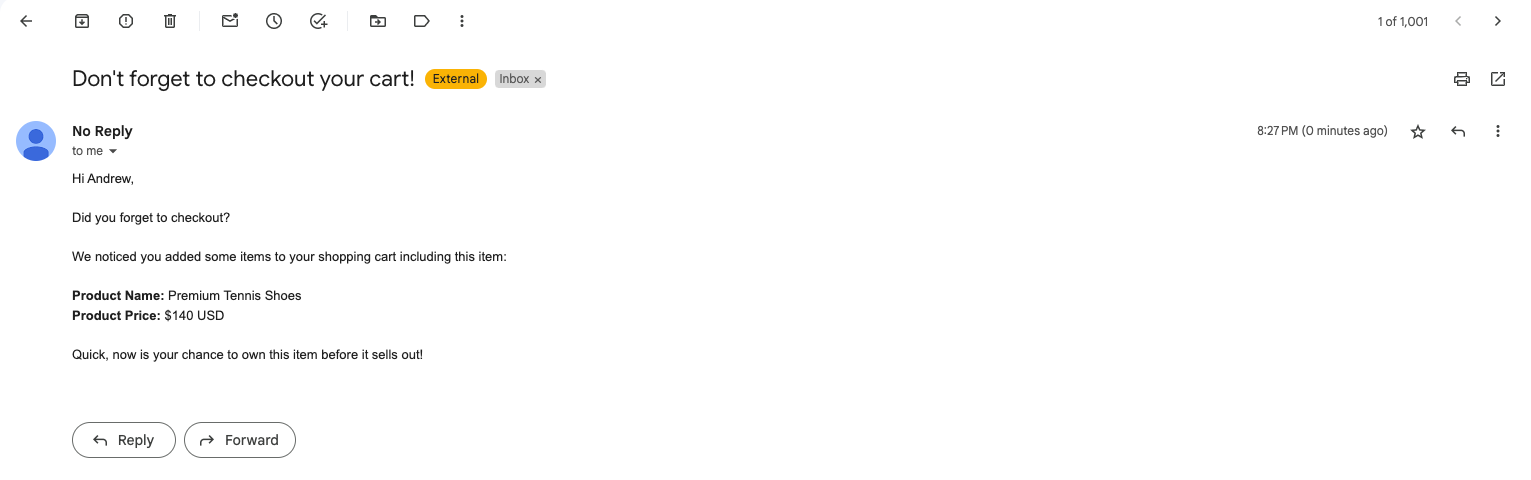
This is an example of what your email formatted using HTML and Liquid might look like in Braze:
Hi {{event_properties.first_name}},
<br />
<br />
Did you forget to checkout?<br />
<br />
We noticed you added some items to your shopping cart including this item: <br />
<br />
<b>Product Name: </b>
{{event_properties.shopping_cart__products[0].product_name}}
<br />
<b>Product Price: </b>
{{event_properties.shopping_cart__products[0].product_price}} USD
<br />
<br />

Quick, now is your chance to own this item before it sells out!
Advanced email example
Use the Segment payload data you copied when setting up your Linked audience to build an abandoned cart email campaign where you can use an iteration tag to run a block of code repeatedly. In this example, you can use a for loop to list all of the products and their related prices in a customer’s shopping cart.
When an email is sent, it lists all of the products and their related prices in your customer’s shopping cart. It might look like the following:
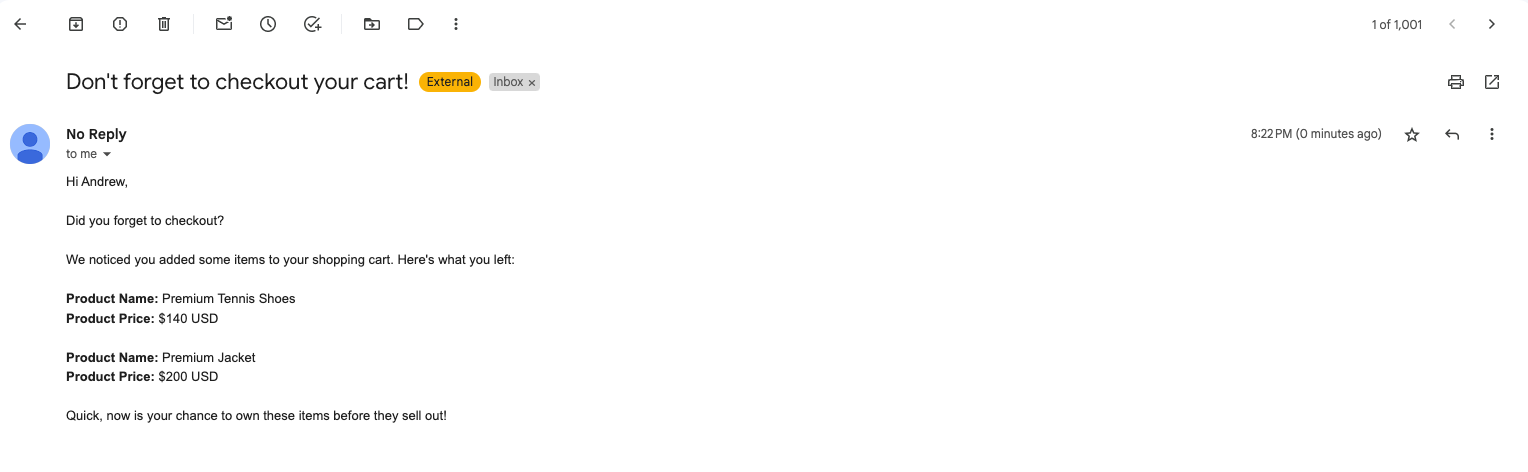
This is an example of what your email formatted using HTML and Liquid might look like in Braze:
Hi {{event_properties.first_name}},
<br />
<br />
Did you forget to checkout?<br />
<br />
We noticed you added some items to your shopping cart. Here's what you left: <br />
<br />

{% for products in event_properties.shopping_cart__products %}
<b>Product Name: </b>
{{products.product_name}}
<br />
<b>Product Price: </b>
{{products.product_price}} USD
<br />
<br />

{%endfor%}

Quick, now is your chance to own these items before they sell out!
This page was last modified: 28 Jun 2024
Need support?
Questions? Problems? Need more info? Contact Segment Support for assistance!